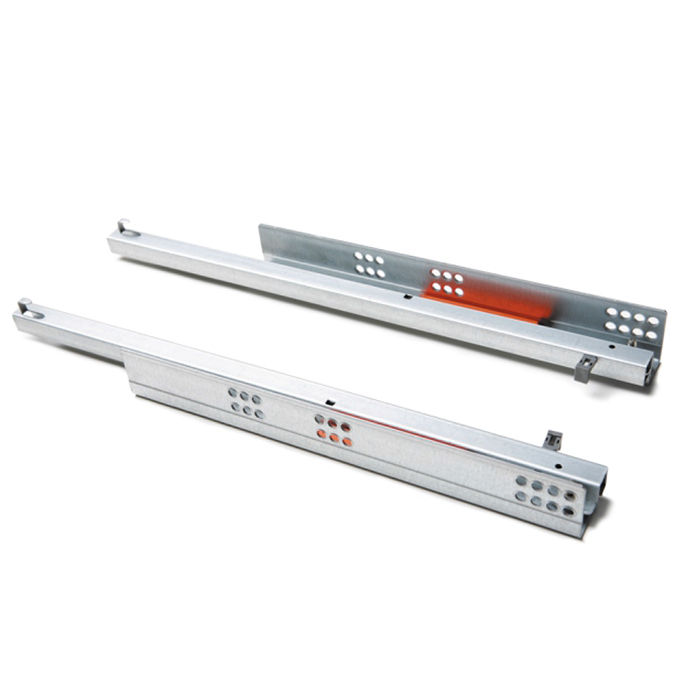
How To Install Bottom Mount Drawer Slides?
The bottom mount is the famous type of drawer slide nowadays. People in town prefer this for different reasons. Thus, installing it requires following a few steps carefully and adequately. You must check out the article below that answers your question ‘how to install bottom mount drawer slides?’ including some reasons and queries regarding it. So let us start with the reason and move right to the installation process next.
 Reasons To Choose Bottom Mount Drawer Slides.
The mounting bottom enables you to build drawers to the drawer’s entire width opening, subtracting ⅛ inches on each side. It nets more space of storage in comparison to other slides.
If you use a single slide in the center point, your hardware cost will decrease.
Thus, when you utilize one slide on one drawer, you can decrease the weight load capacity to about half of the same drawer with two sliders. For holding mounting screws, you will require to make the bottom of your drawer 1/2” inches thick. Or you can also add a spacer on slide one if you are using thinner bottoms. Most of the bottom mount sliders come with ⅜ ” inches thickness but leave 5/16 ” under the bottom of the drawer to mount.
If you are clear with the overall idea on ‘how to install under mount drawer slides?’, then let us start with the procedure to follow –
Tools You Require And Steps To Follow
Saw, tape measure, safety glasses, pencil, screwdriver/drill, nails, combination square, chisel, level
Step 1 – Attach
Align the slide adjacent to the drawer’s front side and place it at the width for inset drawers. Suppose your drawers have a front overlay, notch the box of the drawer and thus the slide is adjacent with the front face of the drawer boxes.
Cut a slide’s notch of ⅛ inch wide minimum on every side to the drawer bottom end’s depth. Take out the waste by using the chisel.
Center the three-section ball-bearing drawer slides and fasten them using screws at the back and front.
When one screw retains the slide’s front, measure from the side of drawers using a measuring tape to ensure that the slide is centered and parallel.
Step 2 – Install The Cabinet Mount
Try to Install the slide in the face frame and secure it by using one screw. To insert drawers, first, you need to attach the mounting block inside the face frame at 3⁄4 inches thickness for screwing the slide. Now mount the slide 1/32 inches back from the front side of the face frame. You need to angle the screw a little bit to ignore the above structure.
Attach the slide to the cabinet’s rear end using a mounting bracket. Ensure that it is the square to the face frame.
For the support of the drawer, add a nail, or you can also use glide pads to the frame where the edges at bottom of the drawer side will pass.
Glide Pads
It helps to avoid the drawer from rocking onto the individual slide, making the drawer work smoothly.
Some Most Asked Questions Regarding Bottom Mount Drawer Slide
Here are the queries that most people are concerned about –
What are known as bottom-mount roller drawer slides?
The mounting surface of the bottom mount roller drawer slide is located on the bottom. But yes, you can still check them, which are also famous as epoxy slides.
Are Undermount drawer slides easy to install?
We all know that under-mount drawer slides are concealed completely where no clunky metal detracts from the appearance of wooden drawers. So yes, it is easy to install the under-mount drawer slides by using the guide step by step.
Is there any difference between the side mount drawer slide and the bottom mount drawer slide?
The main difference is sanitation. Undermount drawers do not gather dust as side-mount drawers do. The drawer opens any time with side mounts where bearings are exposed to dirt, dust, and grime. It results in a dirty side mount, less efficient with less sanitary.
Wrapping Up
If you are not aware of how to install bottom mount drawer slides, then above is the guide for you. Spare some time and read thoroughly to understand.


 Reasons To Choose Bottom Mount Drawer Slides.