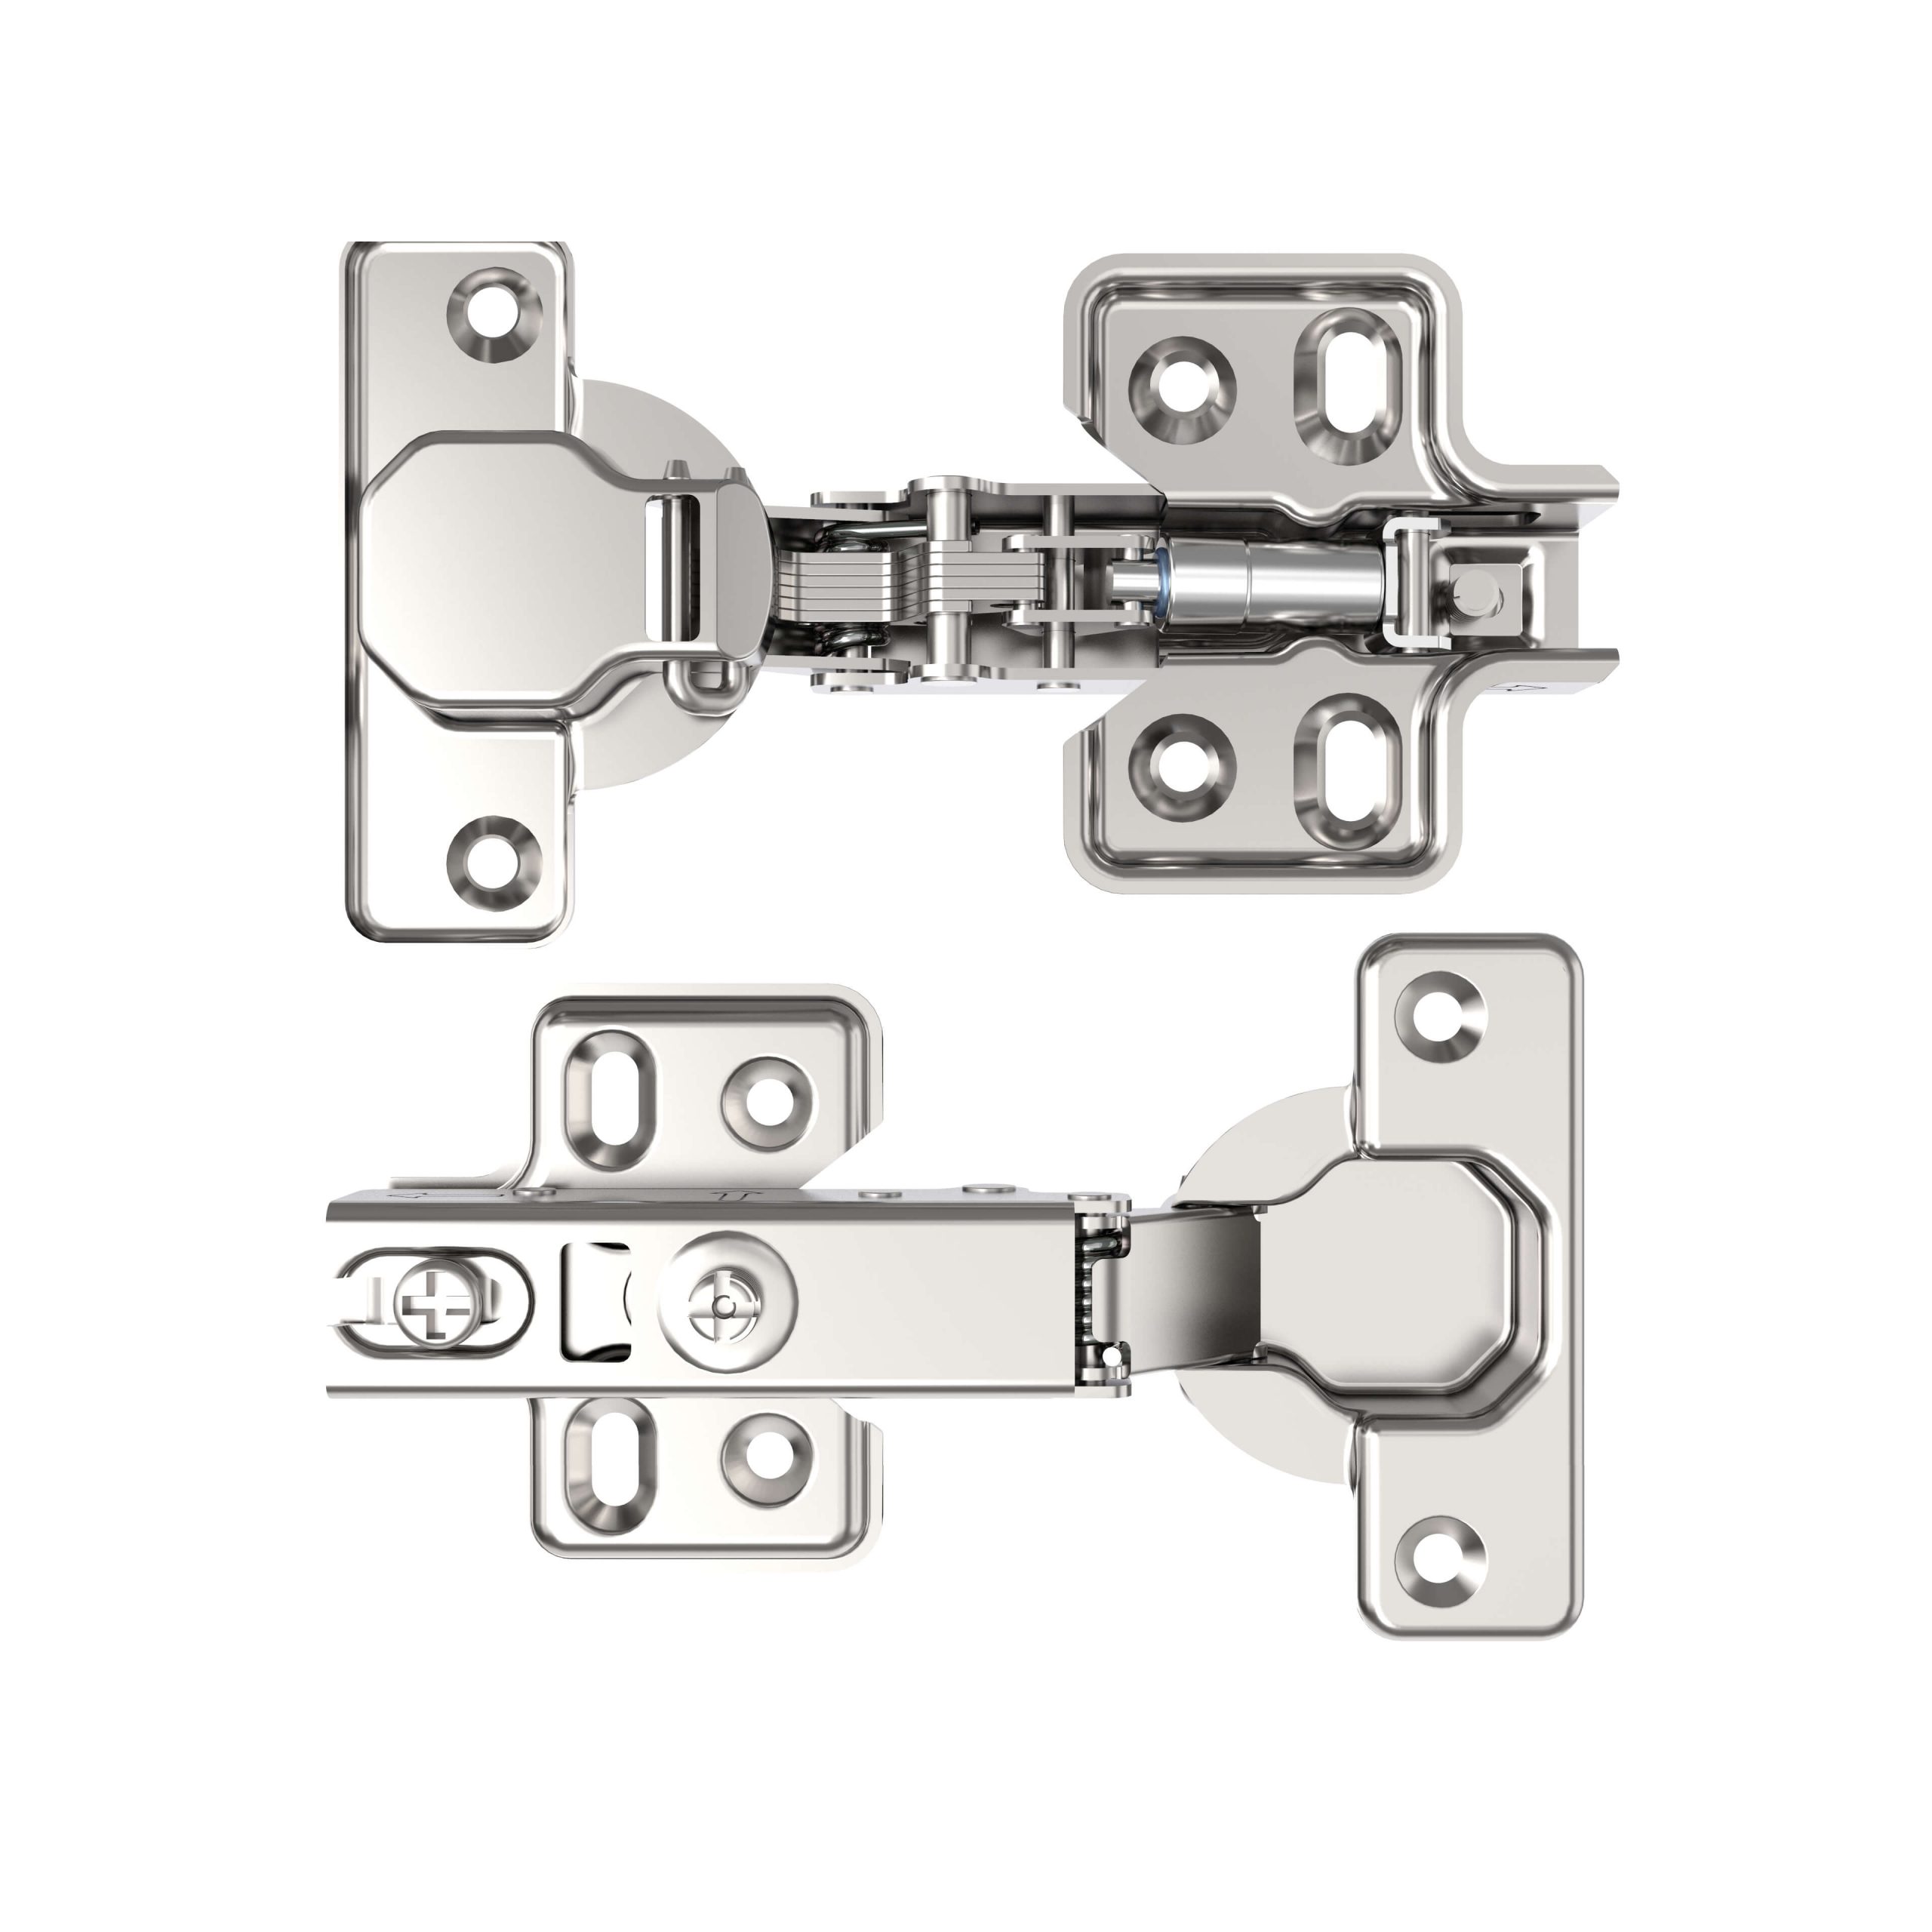
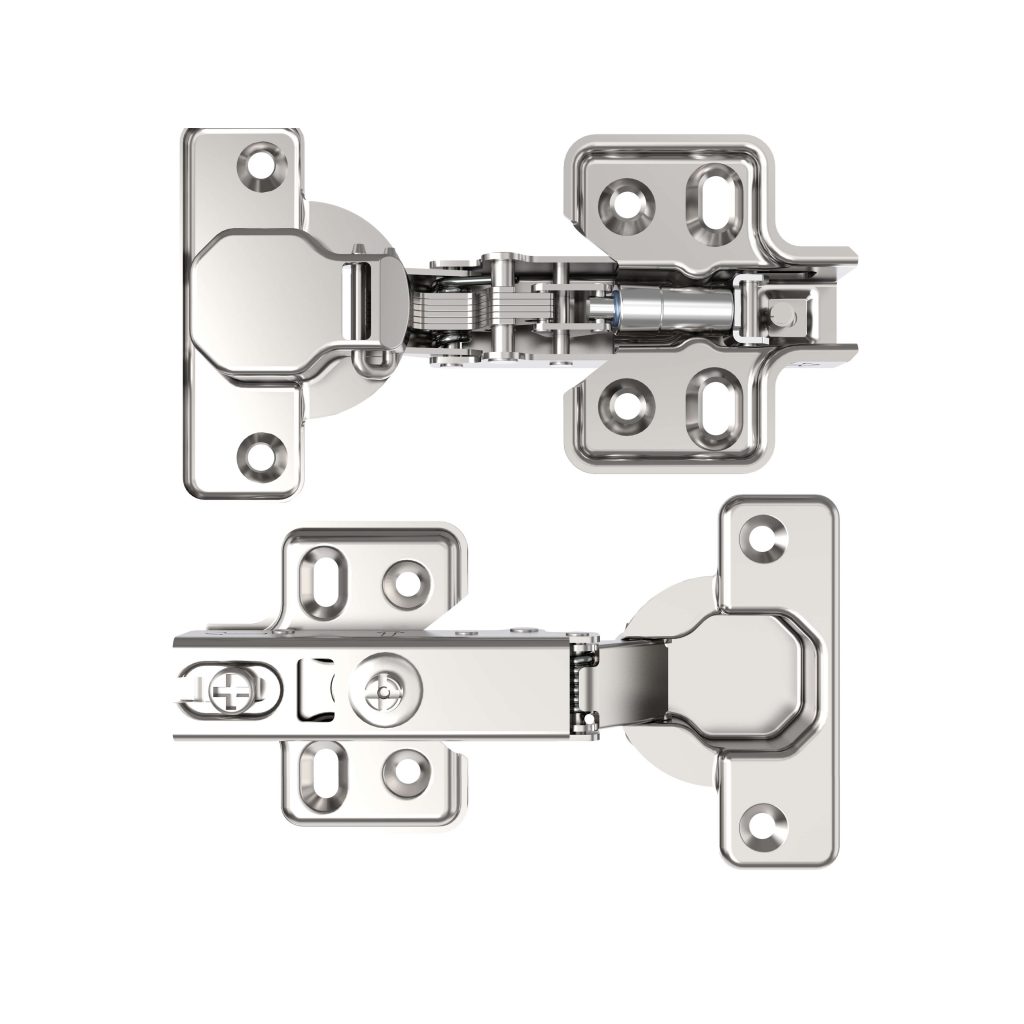
How To Install Self Closing Cabinet Hinges?
The kitchen cabinet update does not need thousands of rupees. Sometimes, just a little detailing such as cabinet hinges or even pulls can make a massive difference in the entire appearance of your kitchen. Eliminating old hinges and replacing them with hidden ones can provide your kitchen a modern, fresh and sleek look. And self-closing hinges will add more charm, style, and functioning.
Cabinet hinges are nowadays heroes in kitchen cabinetry. Whenever you open or close the doors of the cabinets in the kitchen, these hinges ensure that the procedure is efficient and smooth. It seems a challenging task when you install cabinet hinges, mainly if this is your first time. Before heading to the guide on installing self-closing cabinet hinges, prepare your doors and cabinets for it.
Prepare Your Doors And Cabinets Before Installing Self Closing hinges
Here is the checklist of the steps that you must take for the preparation of cabinets and doors –
Identify the number and size of the hinges you have to measure that are already installed. If it is a new cabinet or exit, its size will give you a clear idea of what size and kind of hinge you require.
Remove the doors from the cabinet to prepare your door. All you need to do is unscrew the old hinges and lift your door off.
Fill all old screw holes with toothpicks and dowels glued in the hole. When the glue is dry, cut toothpicks or dowels with the door surface to make it smooth.
If you want to paint or refurbish the door, do it now before installing new hinges.
Guide To Steps Of Installing Self close cabinet hinges
Here is the step-by-step answer to your question How To Install Self Closing Cabinet Hinges?’ –
Tools You Require
Cabinet hinges, tape measure, drill, driver, drill bit, self-centering drill bit, combination square, pencil, screws, shims, screwdriver, glue, painter’s tape, rafter square
Step 1 – After Removing Cabinet Door, Clean It
When you are changing the cabinet door hinges, it is the perfect time to clean the door. Spray some cleaner on the door and clean it. Wipe it with a soft towel to remove all the grease, dirt, and other grime that builds up in the kitchen.
Step 2 – Line New Hinges
Utilize the wood piece around 2 inches wide and locate it on the top of the cabinet door. Draw a light line on the door where your wood is placed. Repeat this procedure on the door bottom that will provide you the perfect placement of your hinge. Now set the woodblock along the door edge where hinges will be positioned and connect the marks with the wood.
Step 3 – Lay Your Hinges On Door
Pick up one of the hinges and lay on the marks on the cabinet door’s top. Ensure that it is flush with the door’s edge and line up with marks. Draw marks where the holes of the screw are. Then repeat it with the bottom hinge.
Step 4 – Drill Holes
Ensure to hold straight the cordless drill in the pilot holes for screws. Be alert that you do not drill through the door all the way. Drill about half an inch.
Step 5 – Install The Hinge
Now attach the hinge to the door of the cabinet by utilizing the electric screwdriver.
Step 6- Install Door Of The Cabinet To the Face Of Cabinet
Once the hinges of the cabinet door are attached to the door, the procedure to put it on the face of the cabinet will be straightforward. Lift the door to the opening and set one level on top of it. Move the door around unless it is on the level and set a screw in the top hinge hole. Use a screwdriver to screw it. Now screw one in the bottom hinge and then complete to secure the door.
Final Words
That is all for installing self-closing cabinet hinges. You can see that installation is easy if you follow it step by step as you need to have patience and concentration. When you wish to install hinges, you will get no irritating noises of door slamming. Read the above article for an in-depth guide to install self-closing hinges properly.


